Creating This Blog - Part 2
At end of part 1, we had gone over creating the start of a github pages blog using Jekyll, as well as getting started with source control with git, and being able to preview the website locally before committing changes to the “live” version. In part 2 we are going to add our own domain name, get HTTPS working with our custom domain and make our first blog post.
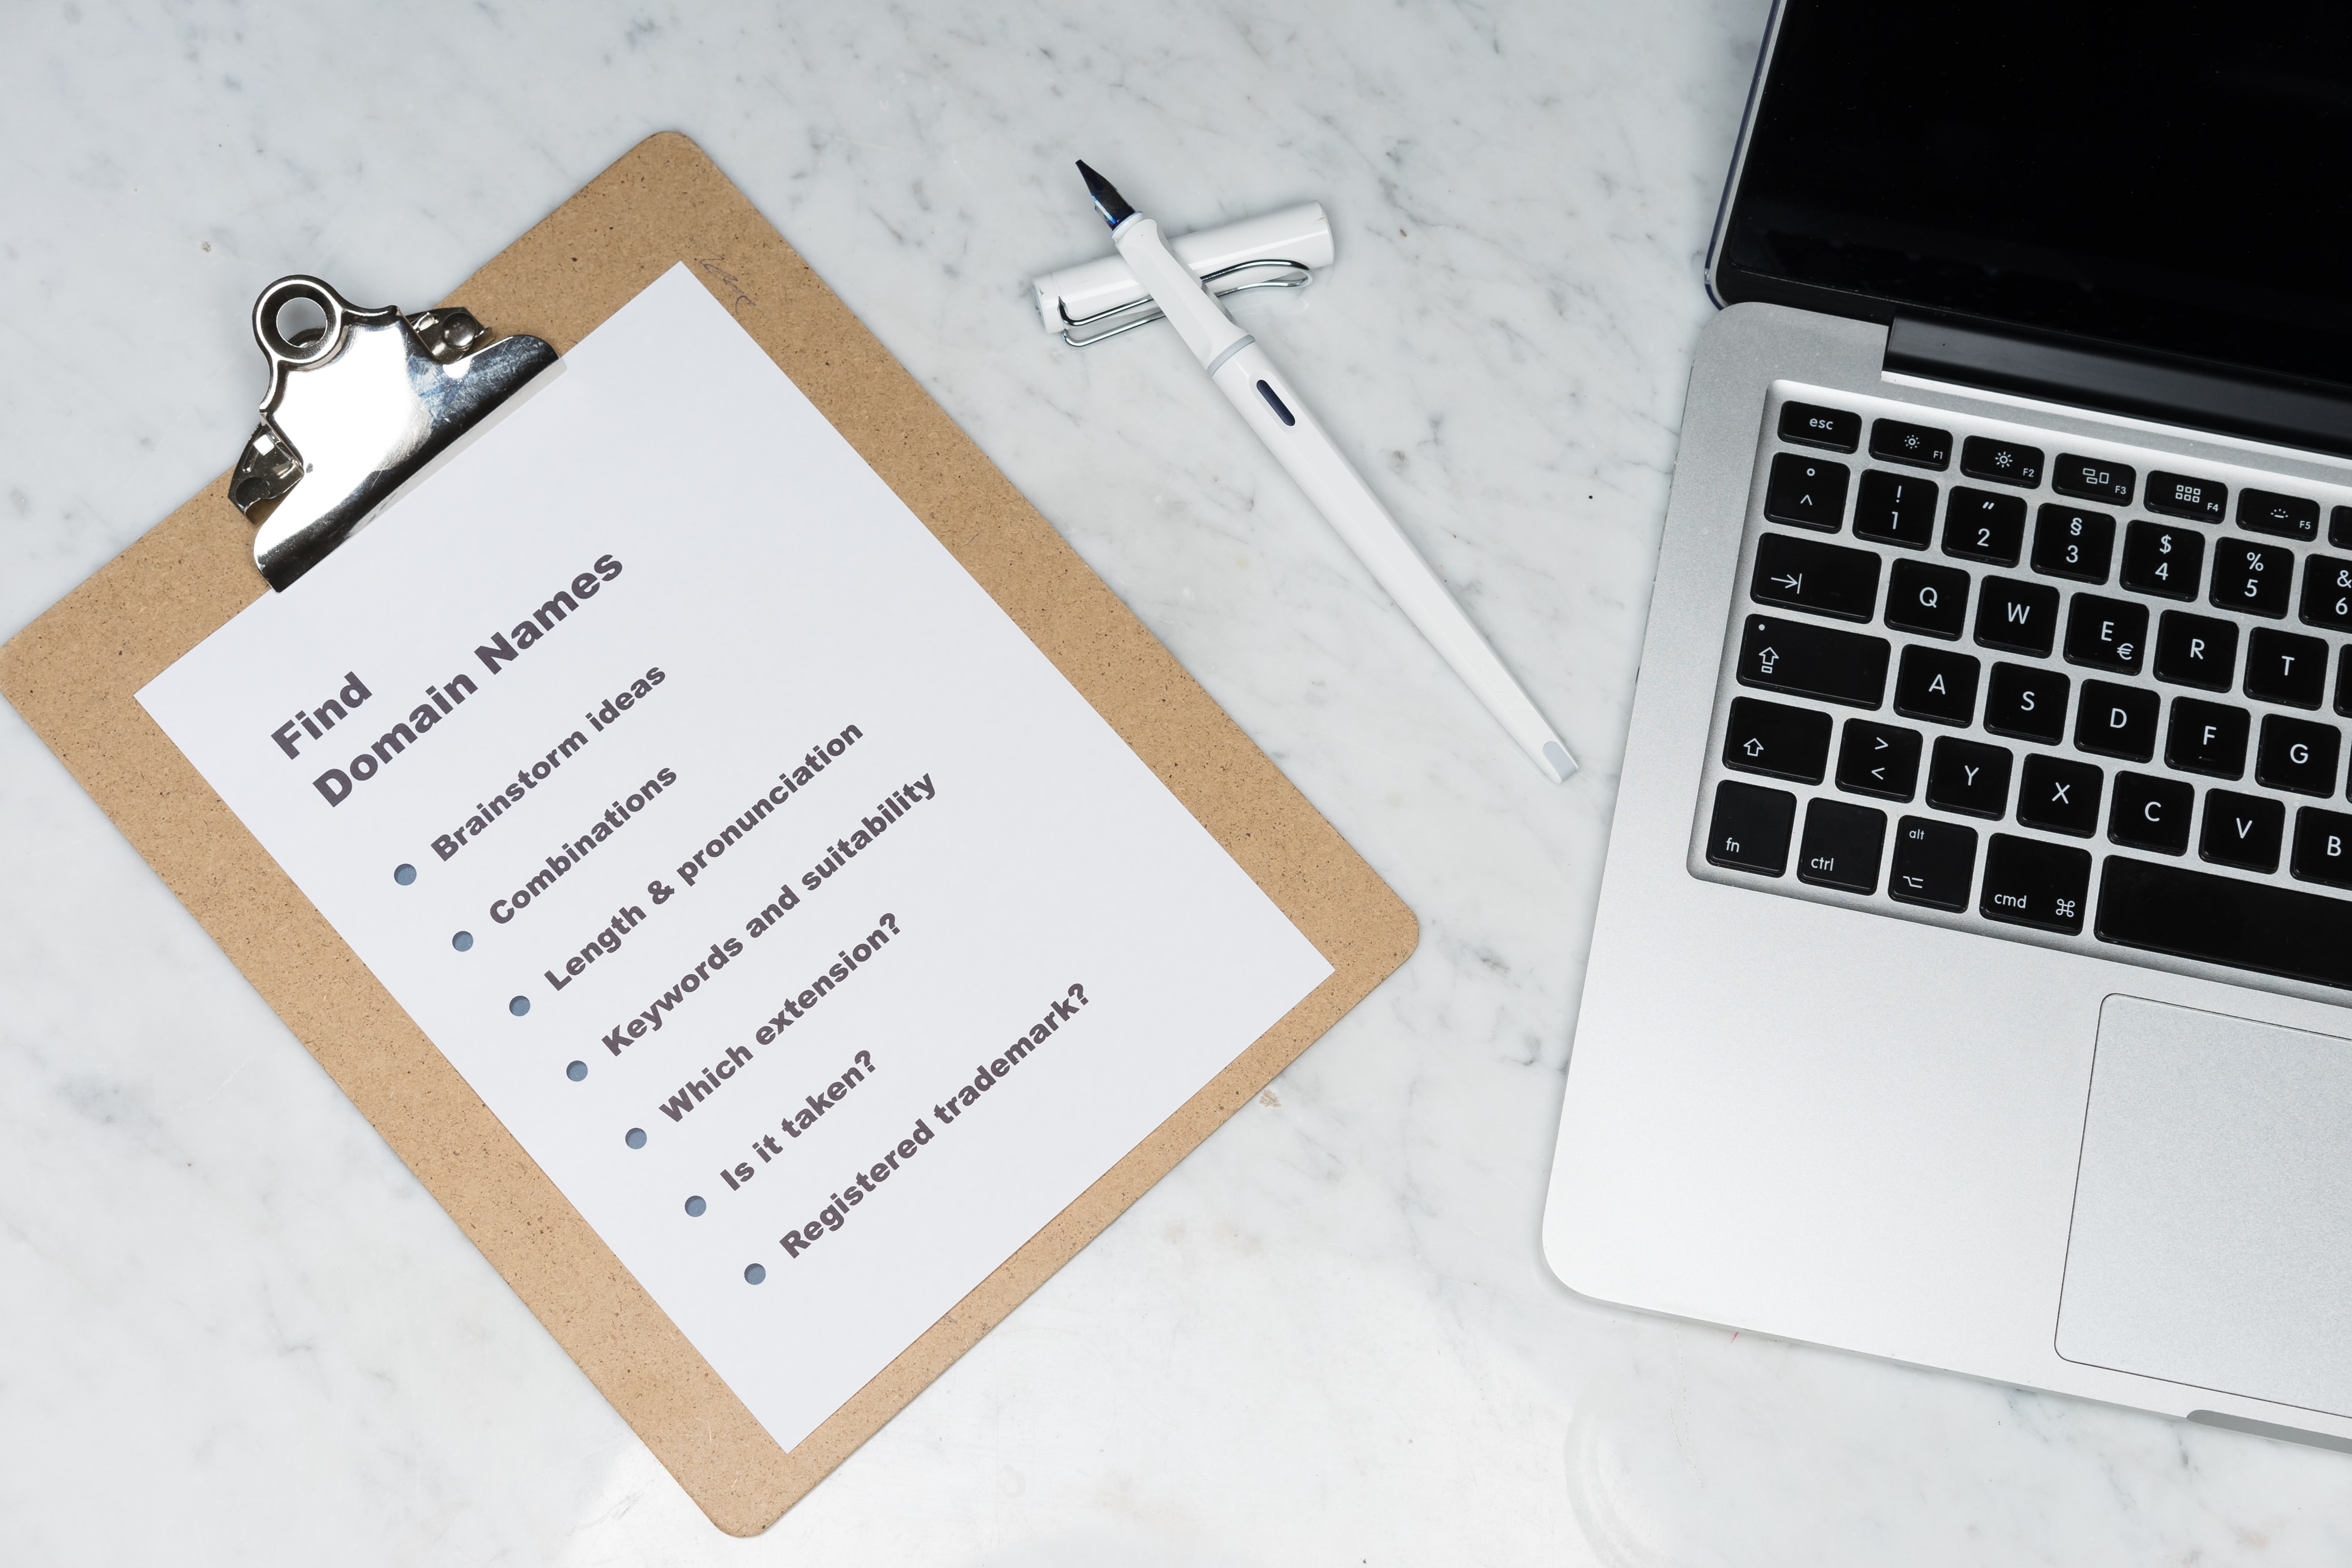
Buying a domain
This is the first step of this blog where I have had to spend some money. “.com” domains are not free. The domain I have used for this, “techwalters.com” has cost me approximately £15 for two years. I could have purcahsed a domain on a different TLD for less, but I preferred to have a .com for intangible feelings about professionalism. In searching I found that some domains could be found for approximately £1 a year, while some domains marked as “premium” could be between £500-£1000. However there some domains that are available for free on TLDs like “.tk”
What is a TLD? It is the right most portion of the domain. “.com”, “.net” and “.org” are all TLDs.
There are some important things to remember when buying a domain. Perhaps the biggest is that your purchase of the domain will expire if you do not renew it, once the domain has expired you will lose control of your domain. Generally the service that you use to purchase a domain will allow you to automatically renew with them, but it is very important to keep payment details up to date. You will also need to provide contact details that will be publicly visible unless you opt in to a service, usually for a fee, to keep them hidden. However they must still be provided to the registrar and they must be kept up to date.
I used namecheap.com to purchase “techwalters.com”. They have a nice search engine for domain names that will check hundreds of TLDs for you. Perhaps your choice of name isn’t available on “.com” but might be available on “.net” or “.dev”. The purchasing process will likely be similar on other services and with namecheap was very easy. By far the most difficult part of the process is choosing that you like and is available!
Setting the custom domain.
At least for now, this blog is going to be my main website hosted on this domain, and there is a long held convention that websites go at the “www.” subdomain. But I would also like the apex domain, techwalters.com, to also go there. Many browsers will hide “www.” from the user these days and most of us are used to this behaviour, and I’d like visitors to my blog to have an easy time. This requires creating two DNS entries for our new domain, as well as some configuration on github.
At this stage there are multiple ways to skin the cat. I’d recommend checking out the GitHub documentation on this process. I’m going to set up a CNAME record for my “www.” sub domain, and I’m going to use a service from namecheap to redirect the naked domain to the “www.” subdomain. Strictly speaking the later is not just a DNS entry, namecheap are providing a web server to redirect a visitors browser. Your provider may not have such a service, and the GitHub documentation will help with other options.
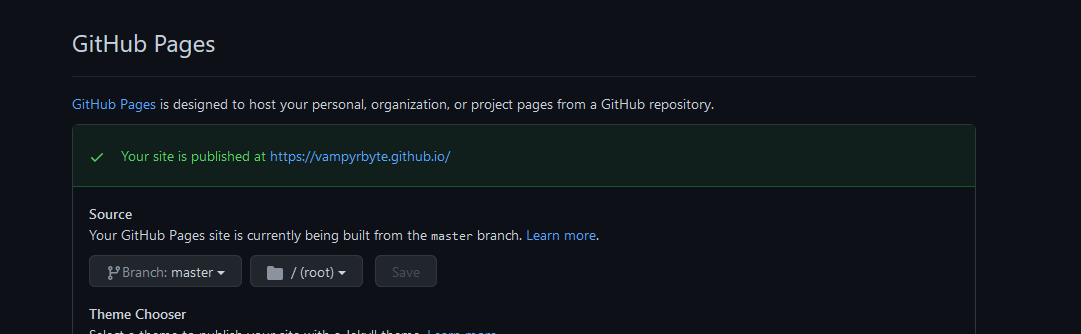
The first step is to tell GitHub about the custom domain we wish to use. Head to the settings page for your repository on GitHub, and scroll down to the “GitHub Pages” section. We just need to enter in our custom domain, in my case www.techwalters.com into the “custom domain” box. I’ve also ticked the option to enforce HTTPS, this will generate a free LetsEncrypt certificate for our page automatically. Once that is set, head on over to your DNS provider and configure the CNAME record. the CNAME will need to point to your existing GitHub pages URL, in my case vampyrbyte.github.io. It can take some time for DNS records to propagate around, for me it only took a few minutes however and before long I could see on the GitHub configuration that my site was now published at my custom www.techwalters.com domain.
Creating a blog post
Now that we’ve set up our custom domain, the next step is to start writing our blog posts. We set up a local repository in part 1 and learned how to use a locally installed instance of jekyll to test our site without making changes to the live site. However the config change we made for the domain name has created a new file behind the scenes in our repository. We need to “pull” this change to our local repository, ideally before we make any changes locally. In the same menu that we “push” our changes to the remote GitHub repository to effect the change on our website, we must “pull” the remote changes down. You should now see the new “CNAME” text file in your local repository as well.
The Jekyll theme that I chose, and I expect many others, contains some template posts that will help with how to set up a new post. I have kept these template posts so that I can refer back to them in the future if necessary. As a rule though, posts will need to conform to the following:
- Be located in the
_postsdirectory. - Have a filename in the following format: YYYY-MM-DD-Post-title.markdown
- Contain the “front matter” at the start of the file.
- Written in the markdown
Of these requirements the front matter is by far the most interesting. There are some Jekyll defaults that will be there on every theme, and some will be specific to the theme you have chosen. These work as variables that are used when Jekyll generates the HTML for your page from the markdown file. As ever, the (Jekyll docs)[https://jekyllrb.com/docs/front-matter/] are great for reading up about the usage of the front matter. Here is what the front matter for this post looks like:
---
layout: post
title: Creating This Blog - Part 2
date: 2021-03-13 00:00:00 +0000
description: Creating this very blog using Jekyll and GitHub Pages
img:  2021-03-13/header.jpg
fig-caption: Photo by <a href="https://unsplash.com/@markuswinkler">Markus Winkler</a> on Unsplash
tags: [blog, github, jekyll]
---
I’ll go through this line by line. The 3 dashes at the start and end of the section are just that, These tell Jekyll where the front matter begins and ends. Strictly speaking these are the only mandatory parts, all others can be blank or filled with defaults.
The layout tells Jekyll which layout file to use to generate the page. Layouts are located in the _Layouts directory. If you take a look at the layouts you will be able to see how the sausage is made.
The remaining lines are all used to help display the blog. The title and date form the heading at the top, as well as the link from the homepage. The fig-caption provides a caption for the header image displayed at the top of the page, I’ve used this to credit the photographer. Finally there are the tags. You will see at the bottom of this page you can click on these tags, they allow me to group content together and the viewer can use the tags to explore similar content.
Once you’ve set the front matter for your new post, its just a case of writing it! Don’t forget to use the Markdown Cheatsheet to the format your post, and keep Jekyll serve running so that you can preview your post locally as you write it. Finally you will need to save your file, commit your changes and push them to GitHub!
Final note
One final note I would say is to make sure to keep your new domain name and GitHub account secure. GitHub supports two-factor authentication, as does Namecheap. Hopefully your chosen domain registrar does too. Using this alongside a strong, unique password should help to keep the accounts that make your blog work secure.